How to set parental controls on ChatGPT
Setting up parental controls on your teen’s ChatGPT account can give them a safer experience with the chatbot. However, it must be noted that children can use the chatbot without logging in, which will allow them to avoid any controls you have set.
To set up parental controls, both you and your child must have ChatGPT accounts.
How to link a parent account to a teen account
How to link a parent account to a teen account
You must first link your ChatGPT account to your child’s account before you can begin setting parental controls.
To link ChatGPT accounts:
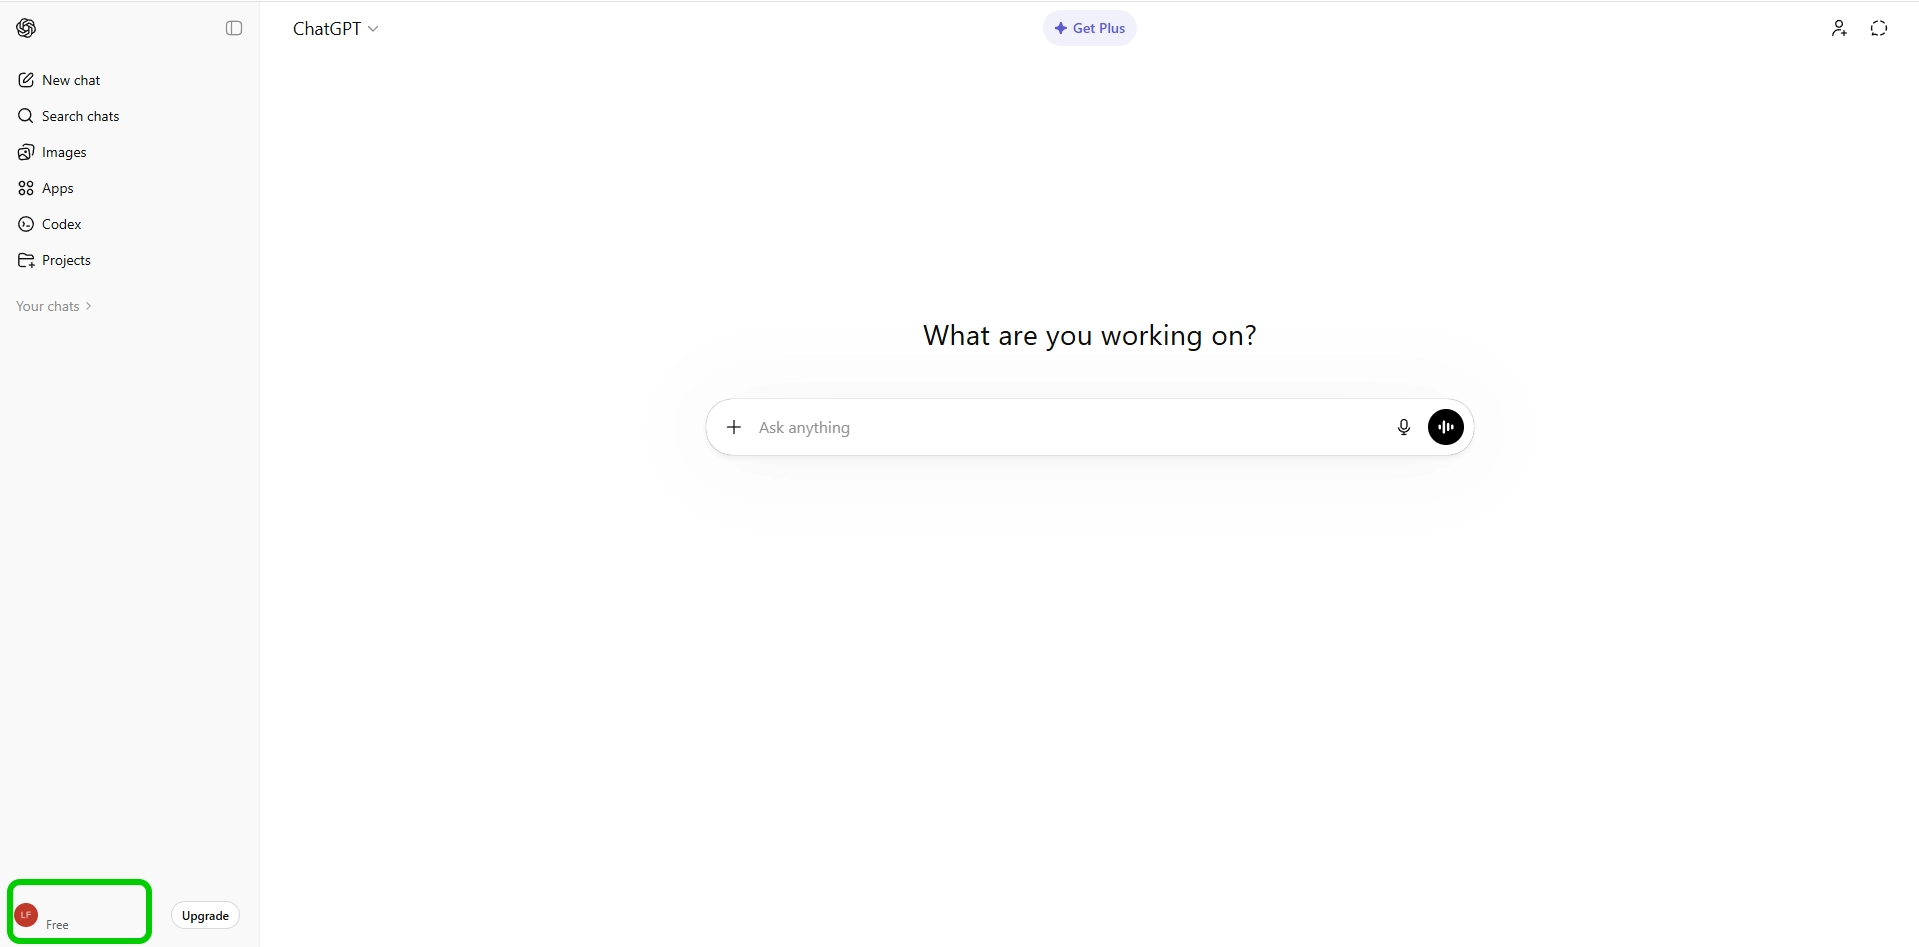
Step 1 – Open ChatGPT while logged into your account and click your profile picture in the bottom left corner.
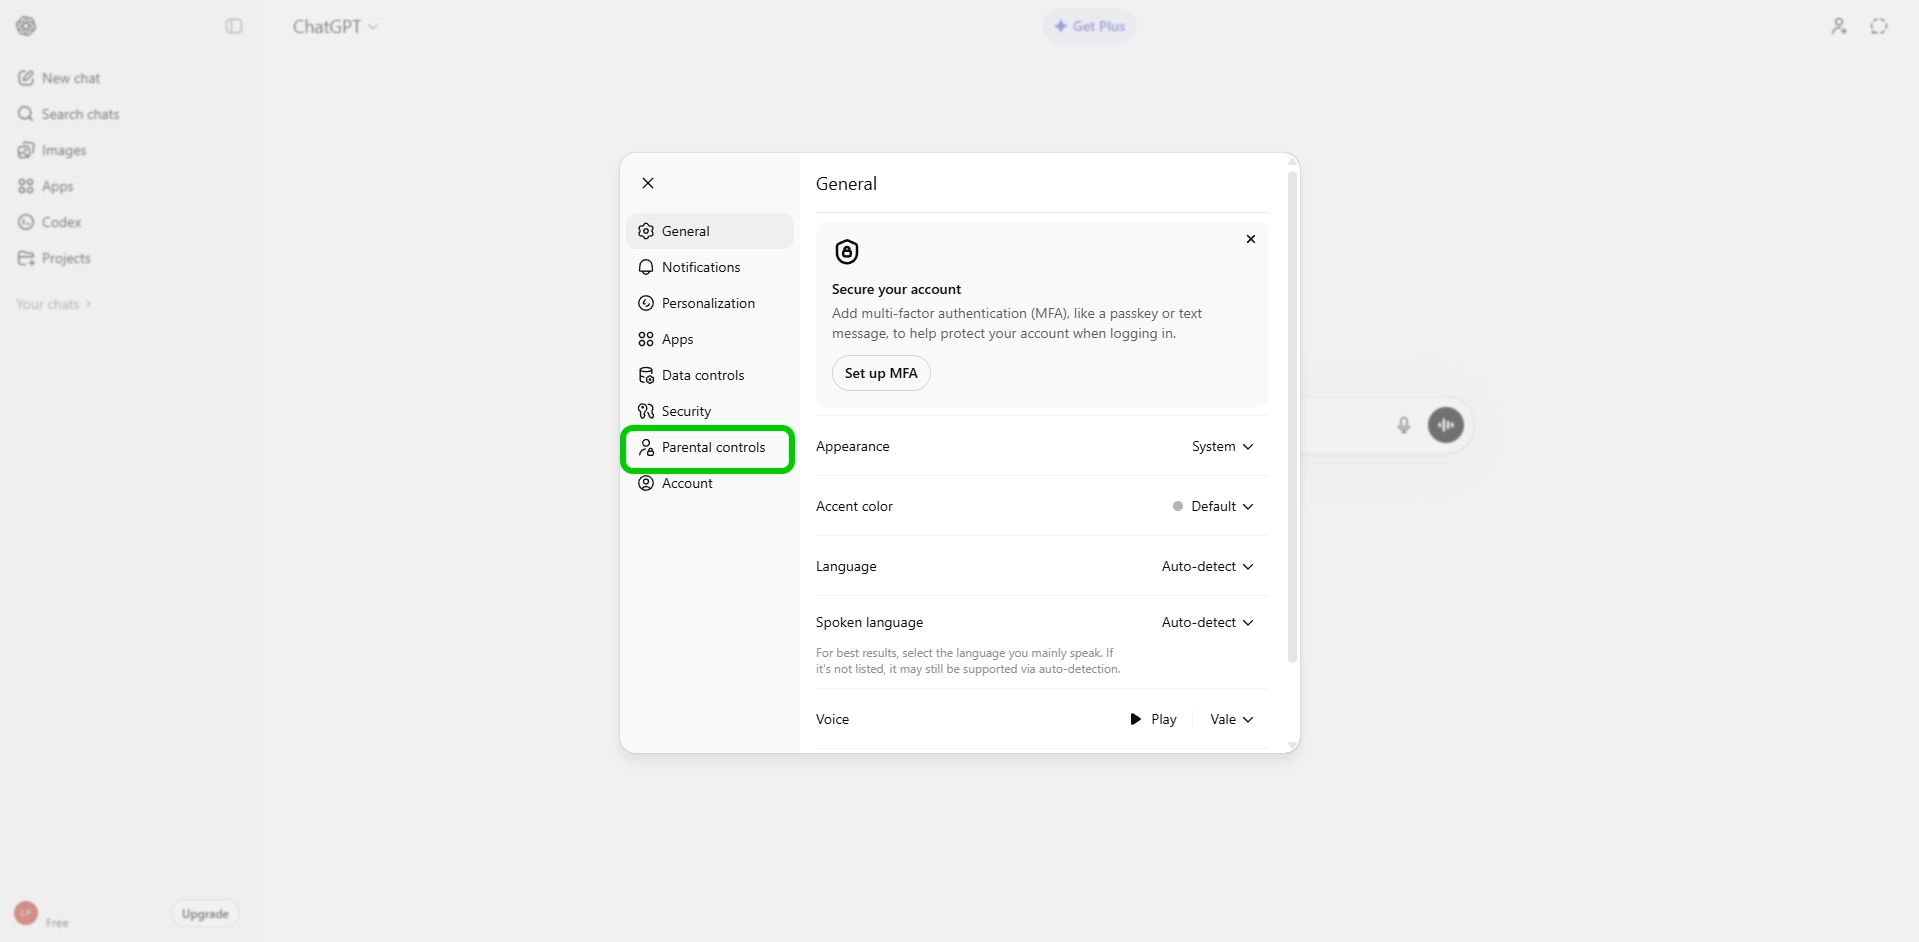
Step 2 – Select Settings.

Step 3 – Select Parental controls from the side menu.
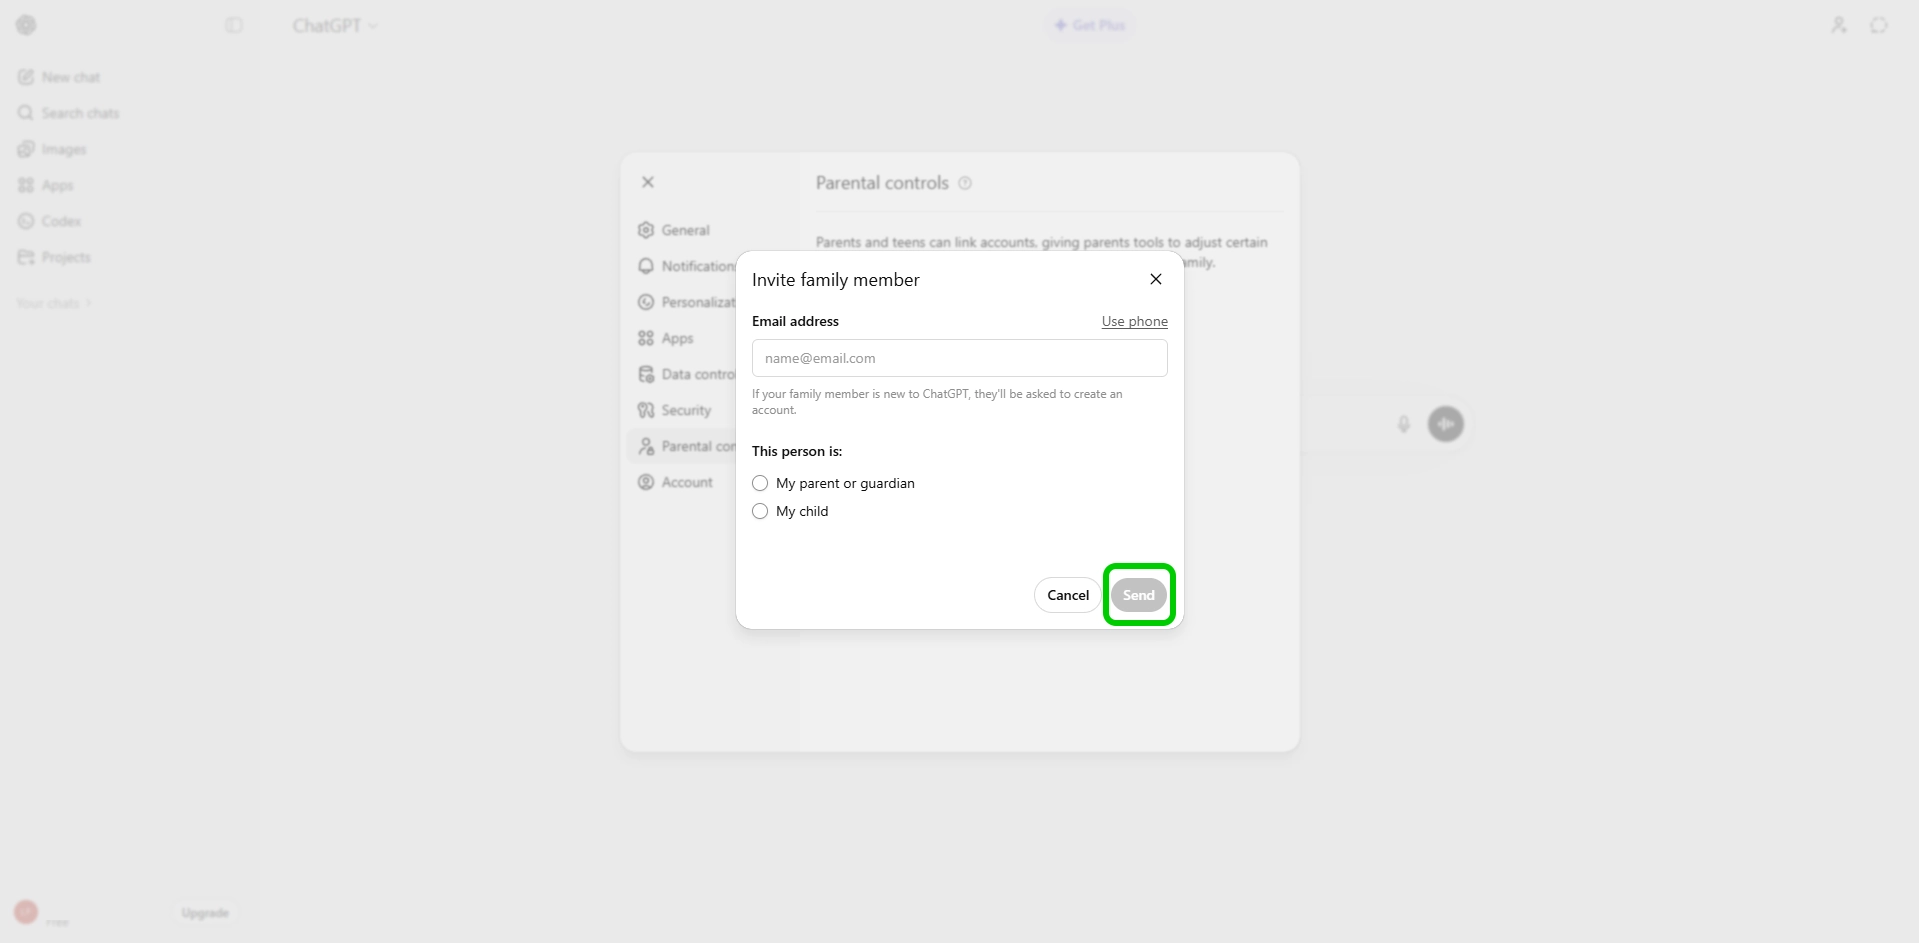
Step 4 – Inside the Parental controls menu, click Add family member.
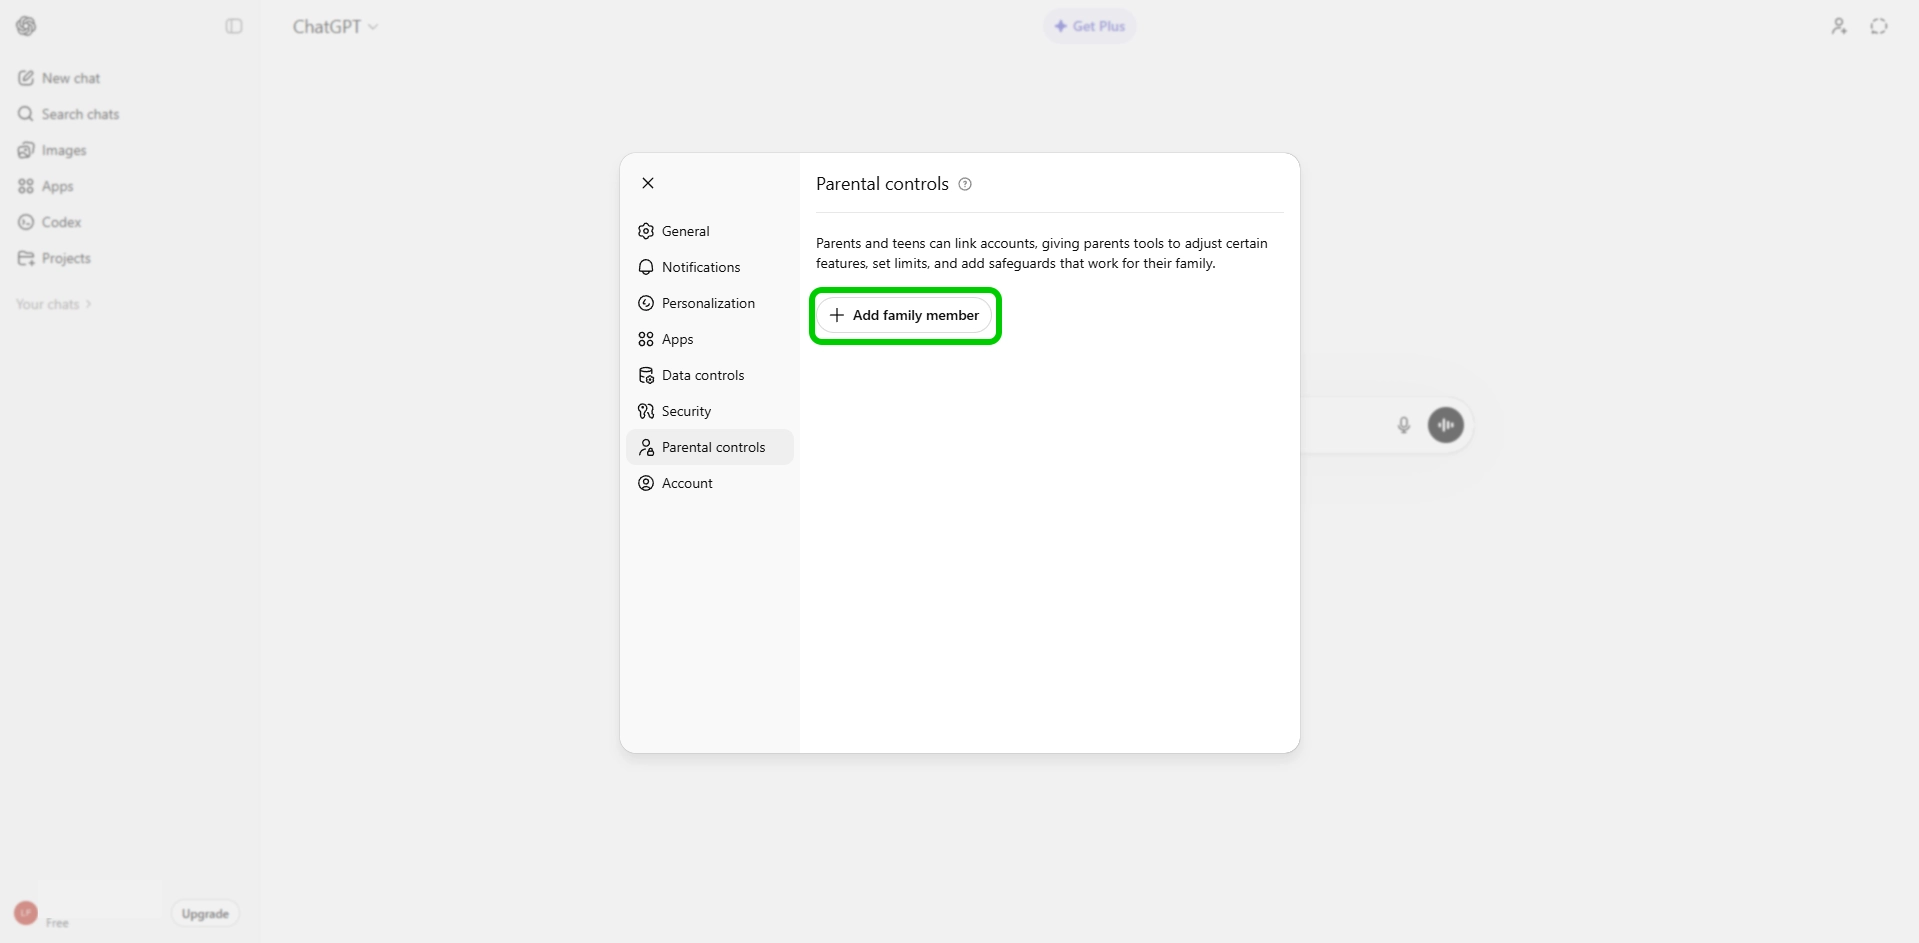
Step 5 – Enter the email address linked to your child’s ChatGPT account, then select My child and click Send.
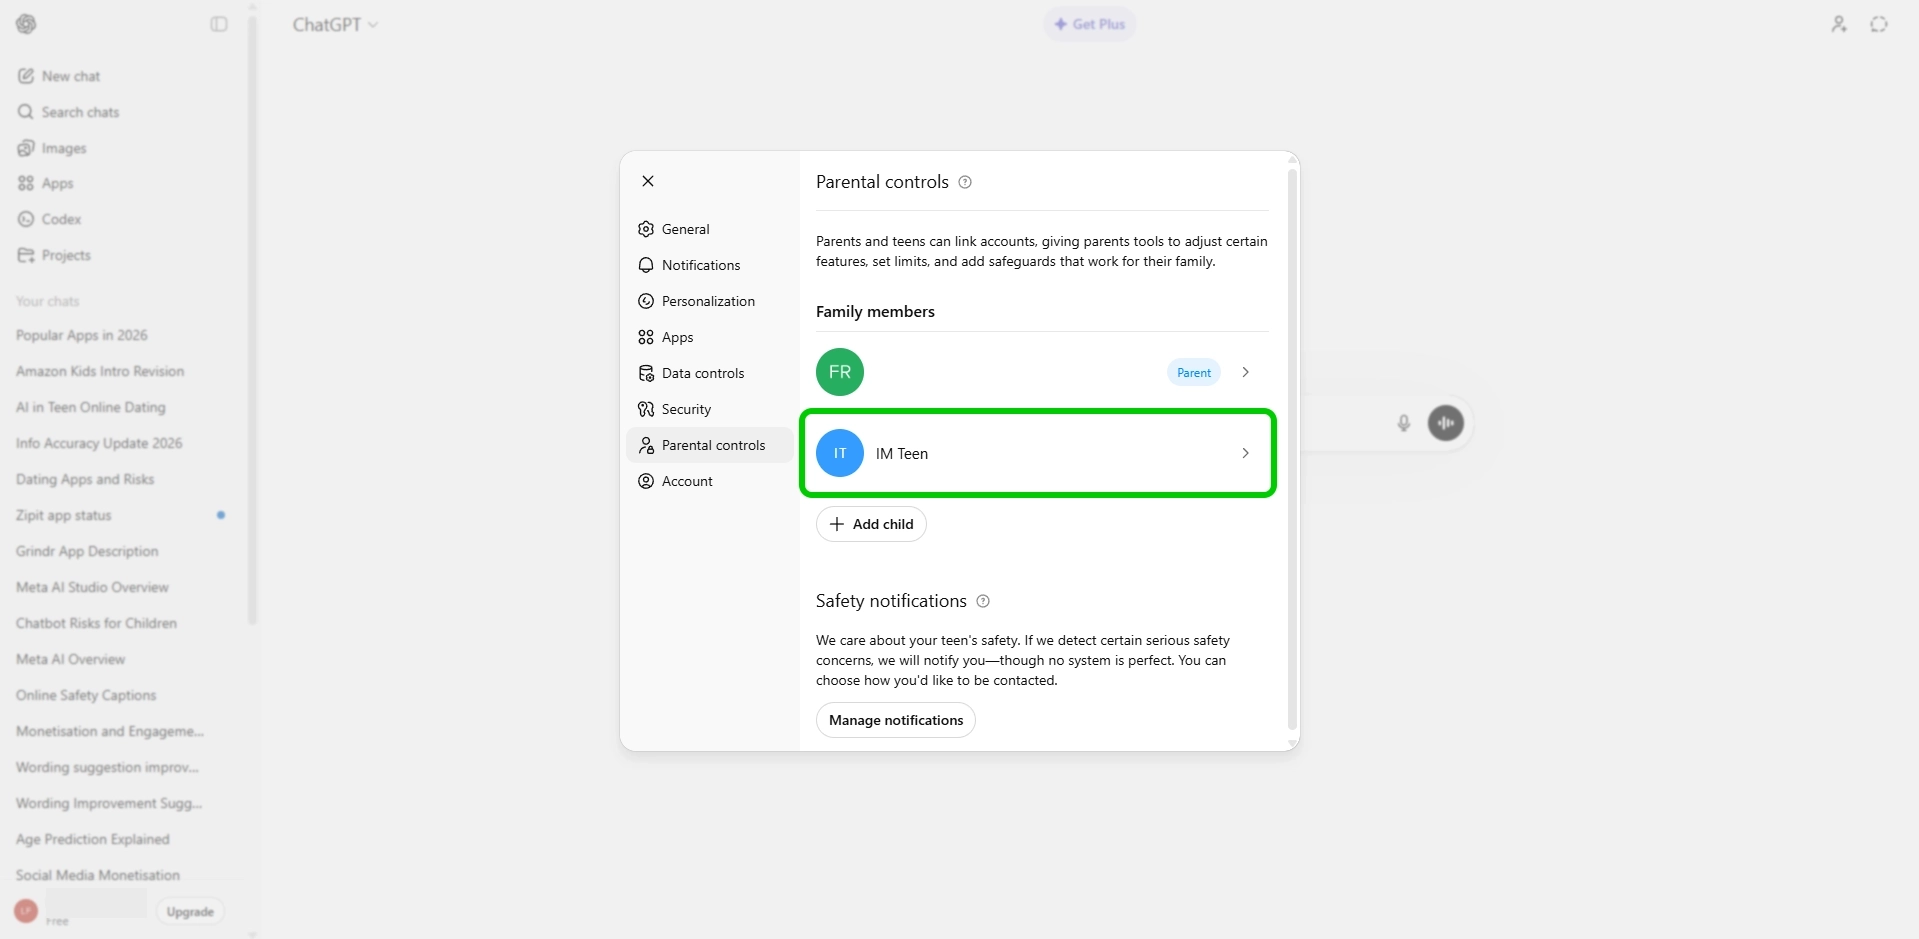
Once your child goes to their email inbox and accepts your invite, your accounts will be linked and you can begin managing parental controls.
Setting controls
Setting controls
Once your accounts are linked, you can begin setting controls on your child’s account.
To set controls:
Step 1 – Inside the Parental controls menu, select your child’s account.
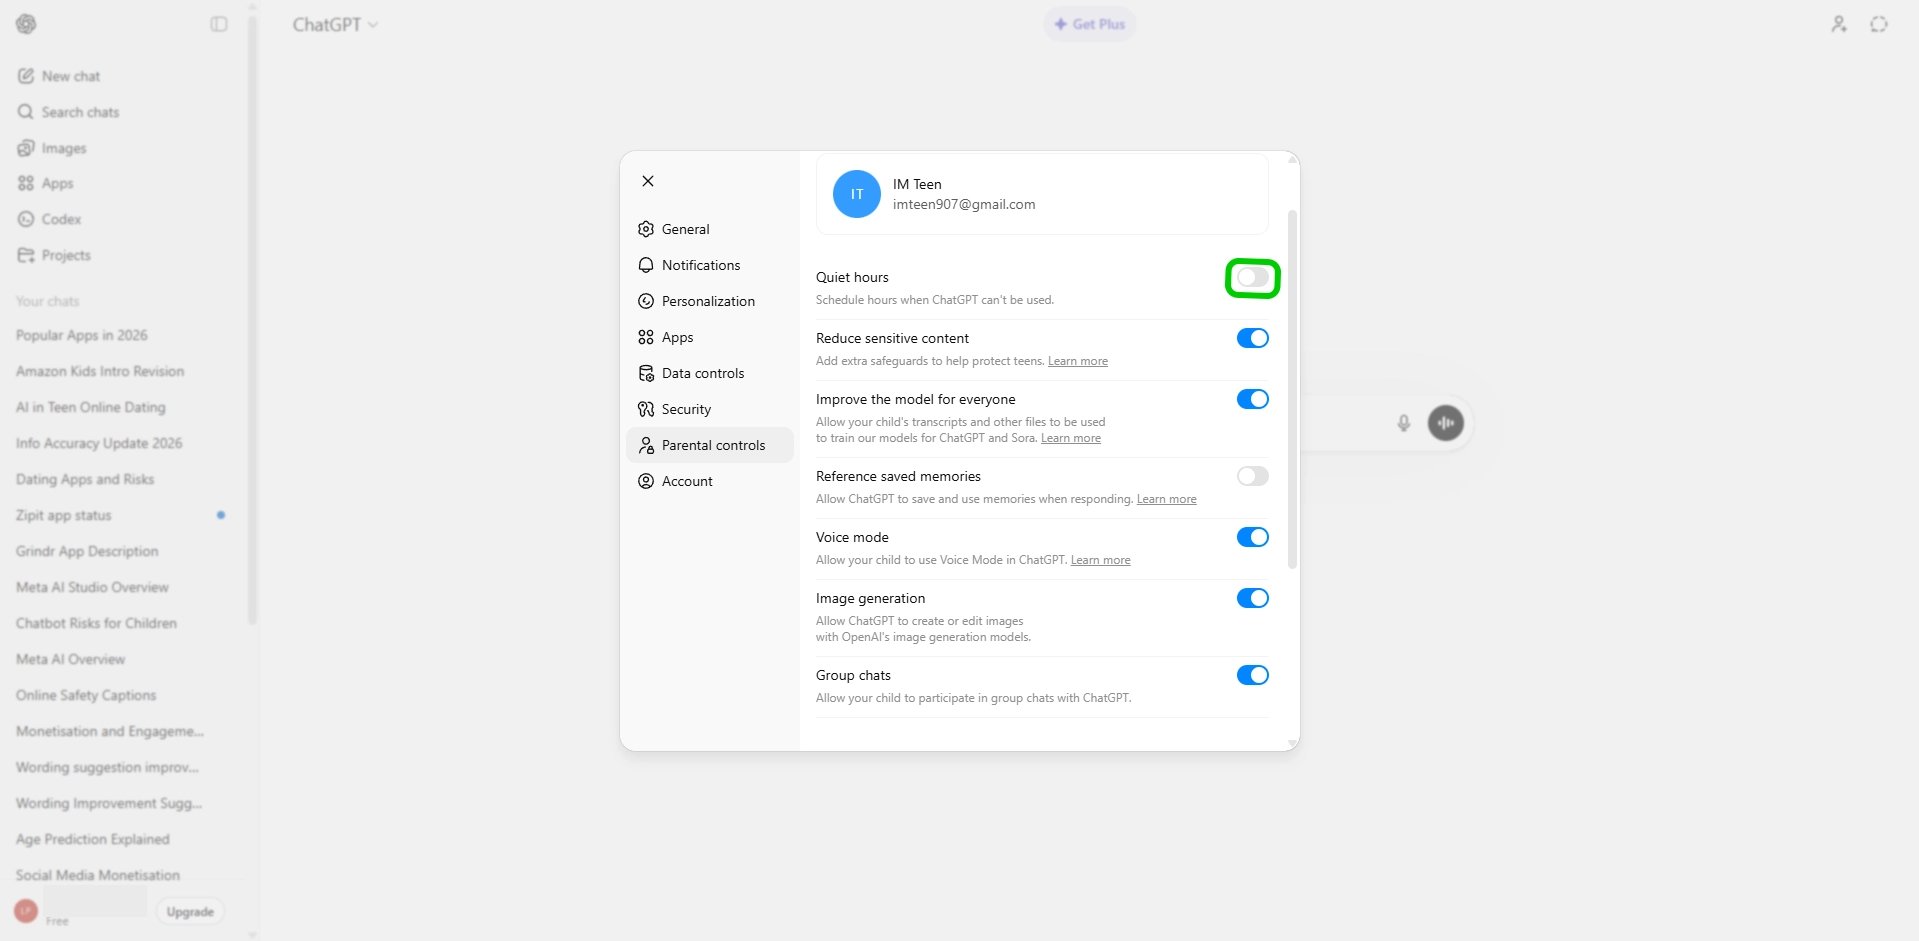
Step 2 – Inside the account setting you can enable or disable toggles to monitor your child’s experience with ChatGPT.
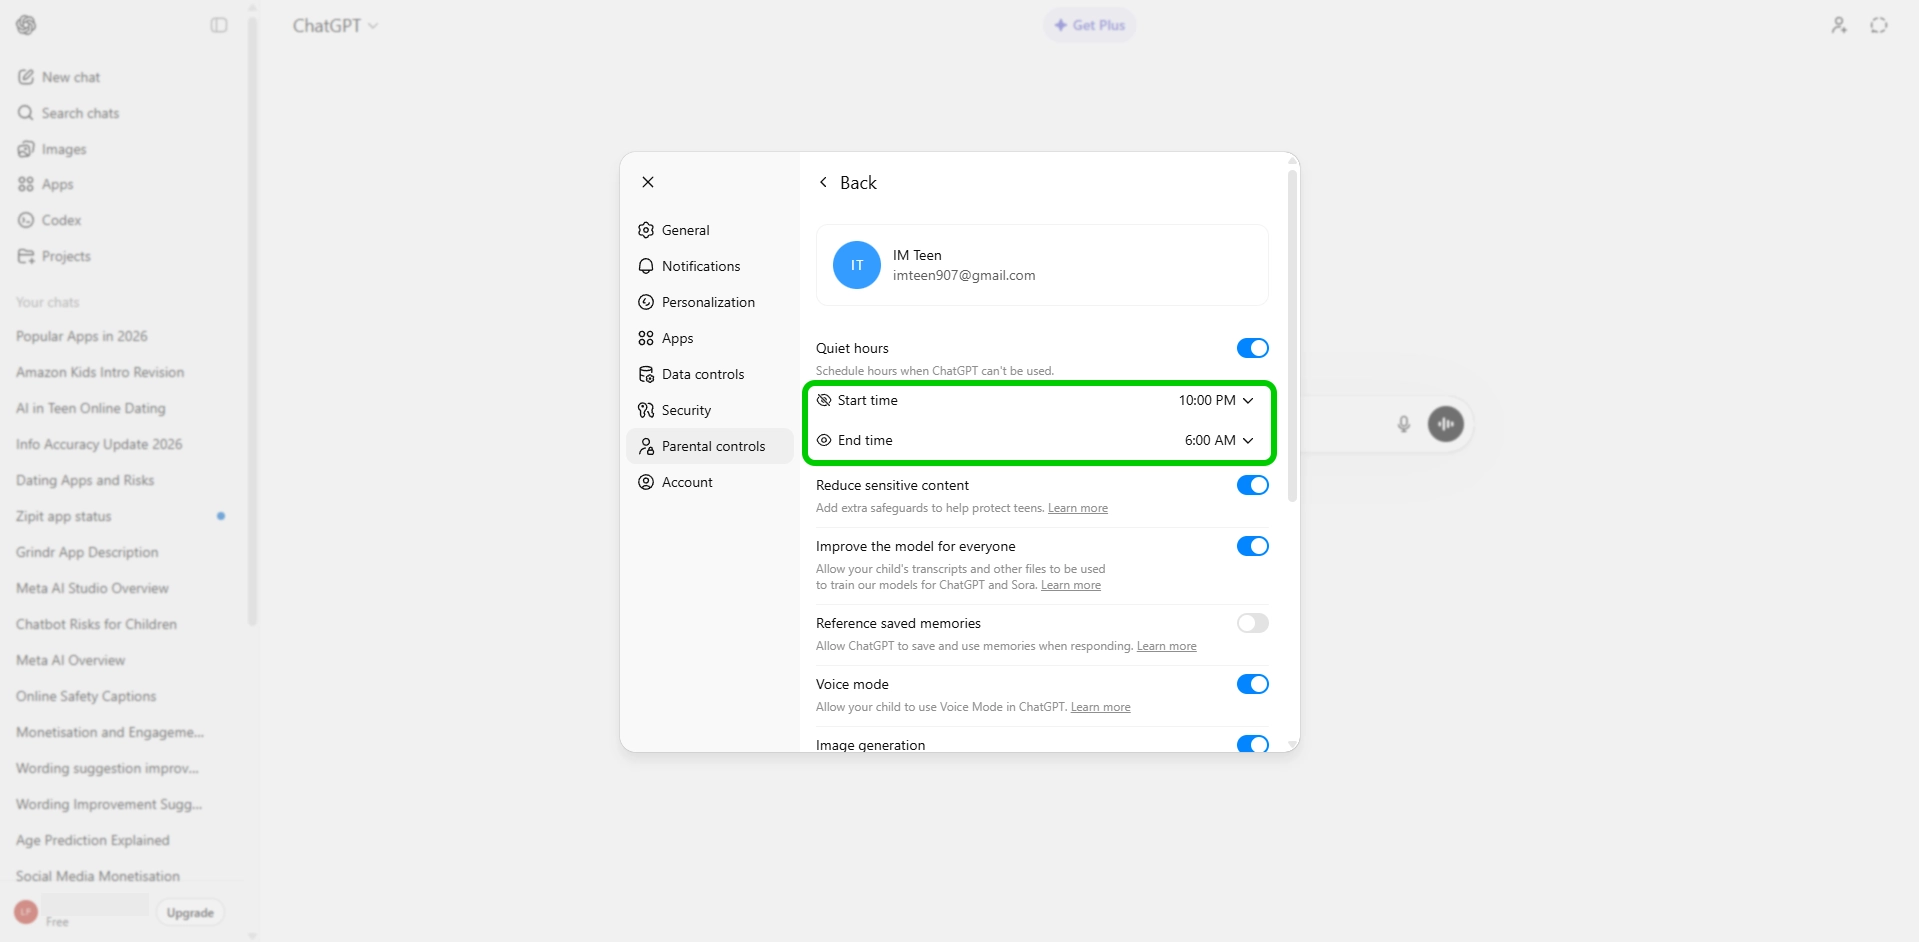
Step 3 – To schedule downtime when ChatGPT can’t be used, toggle on Quiet hours.
Step 4 – Edit the start time and downtime for Quiet hours to choose when your child can’t use the chatbot.
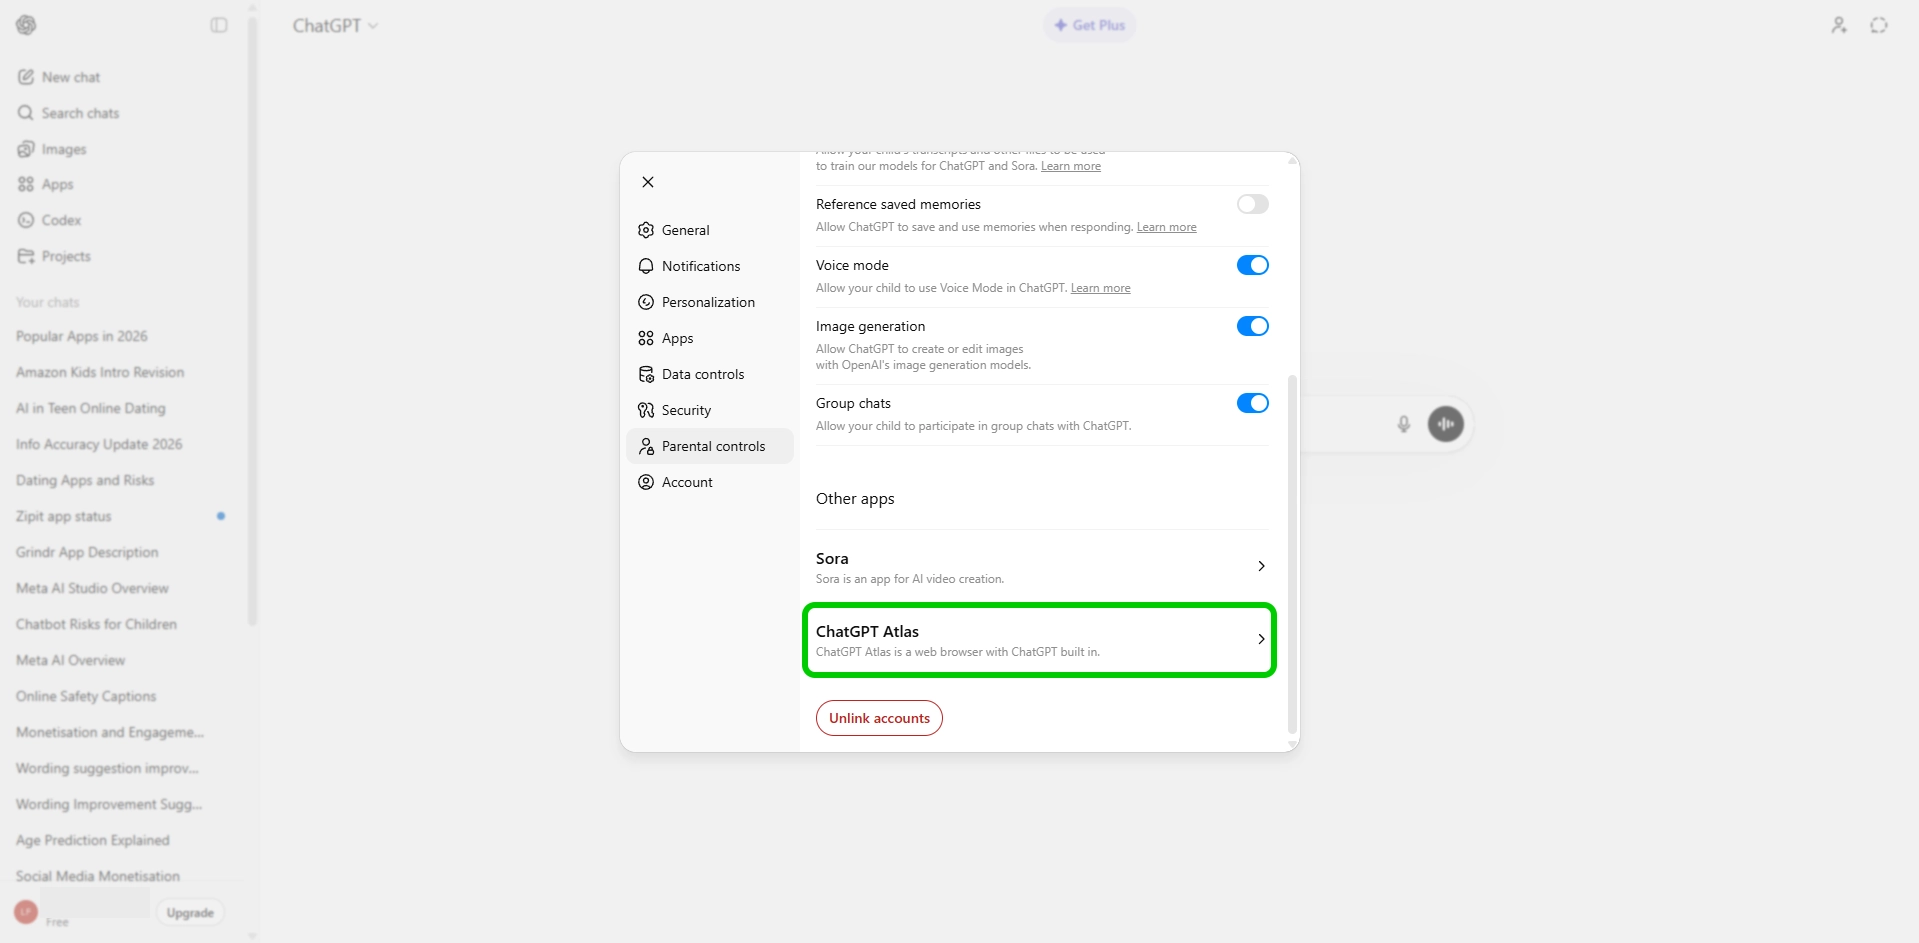
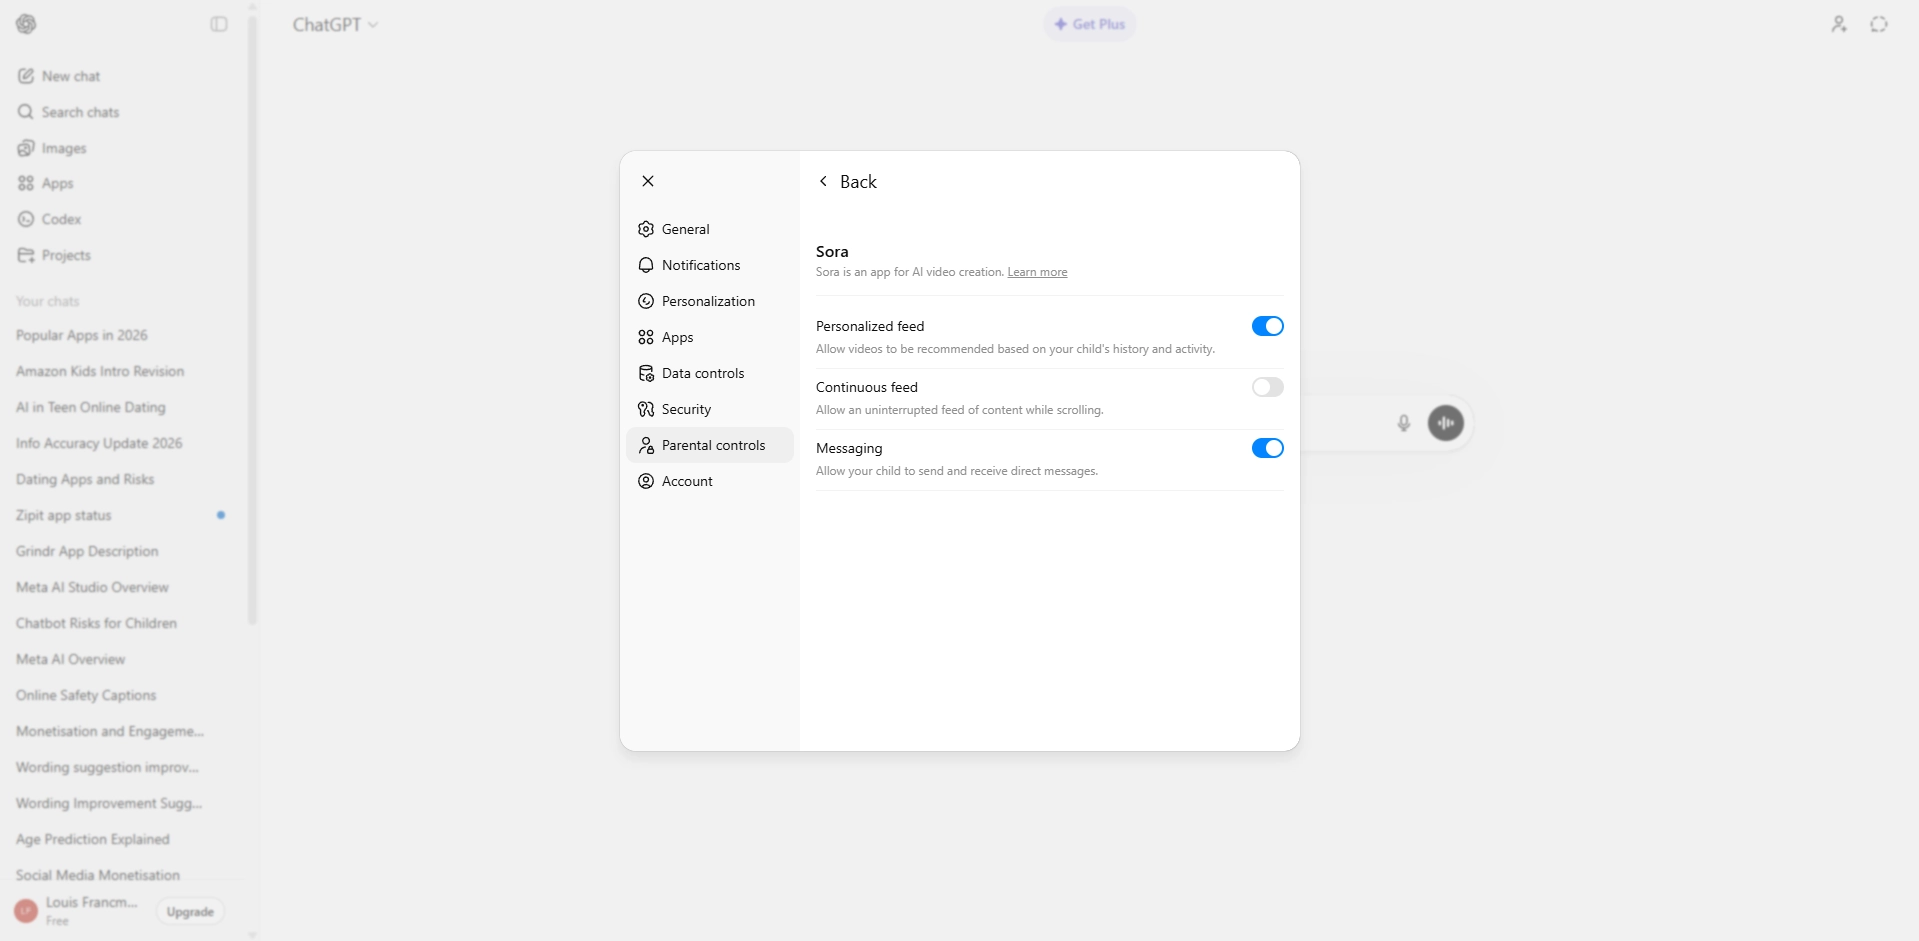
Step 5 – You can also set controls on Sora, the text-to-video version of ChatGPT. To do this, scroll to the bottom of the parental controls menu and click Sora.
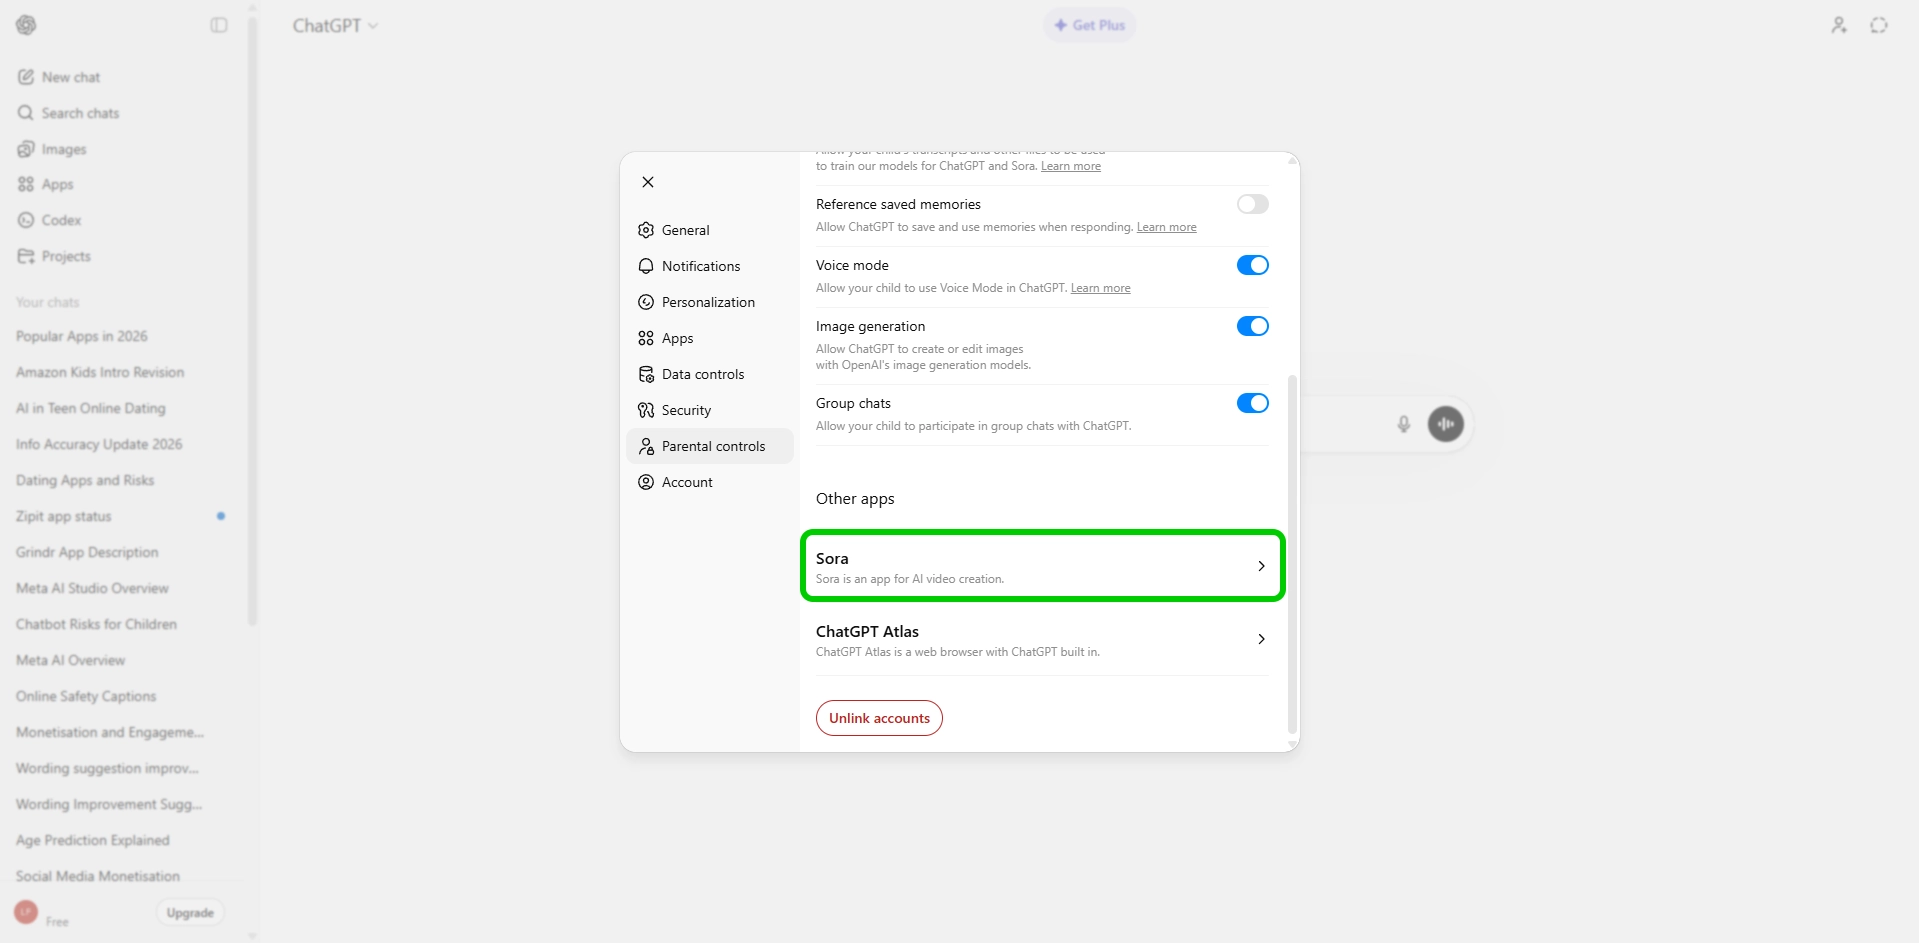
Step 6 – In the settings you can disable features such as continuous feed and messaging by turning off the toggles.
Step 7 – In the Parental control menu, you can also set controls on ChatGPT Atlas, the browser developed by OpenAI.